Click the mouse on the required key field (marked yellow) for your system telephone.
OpenScape Desk Phone CP G2
|
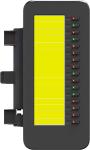
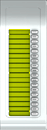
| OpenScape Key Module KM410 |
OpenScape Desk Phone CP

|
|
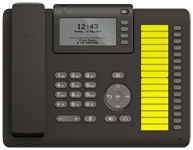
| OpenScape Desk Phone CP200 | OpenScape Desk Phone CP400 |
OpenStage
|
|

|
|

|
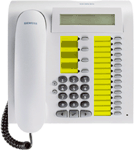
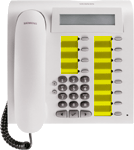
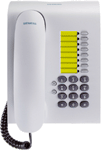
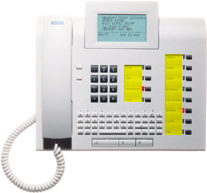
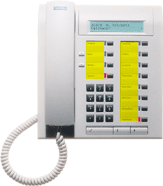
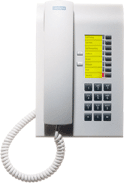
| OpenStage 10 T | OpenStage 15 | OpenStage 30 | OpenStage Key Module 15 | OpenStage BLF 40 |
optiPoint

|
|
|
|
|

|
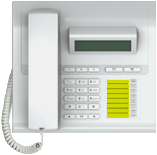
| optiPoint 410 advance | optiPoint 500 advance | optiPoint 500 optiPoint 410 optiPoint 400 |
optiPoint 500 entry optiPoint 410 entry |
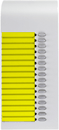
optiPoint key module | optiPoint BLF |
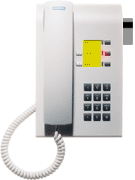
optiset E
|
|

|
|

|
|
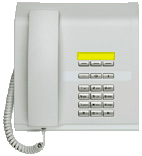
| optiset E memory | optiset E standard/advance | optiset E key module | optiset E basic | optiset E entry | optiset E signature |
When asked what you want to do with the file, select Open it, then click OK.
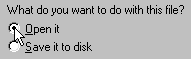
If the dialog field is not displayed and the Word document not loaded, press the right-hand mouse key above the browser window and store the file on your hard disk. You can then load the Word document by means of a double click in Windows Explorer.
The strips are offered for the selected key field in the form of a Word document.
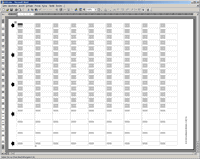
Click the mouse on one of the gray fields in the Word document and then write your labeling text (e.g. a name).

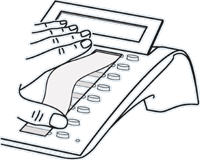
First make a test print on a plain sheet of paper and check the sheet feed direction of your printer.
Print out your Word document and then cut out the labeling sheet along the perforations. Insert it in the telephone and cover it with the foil supplied (matt side up).
If you wish to retain your entries for further use, you can store the file with the changes on your hard disk before closing the program window.